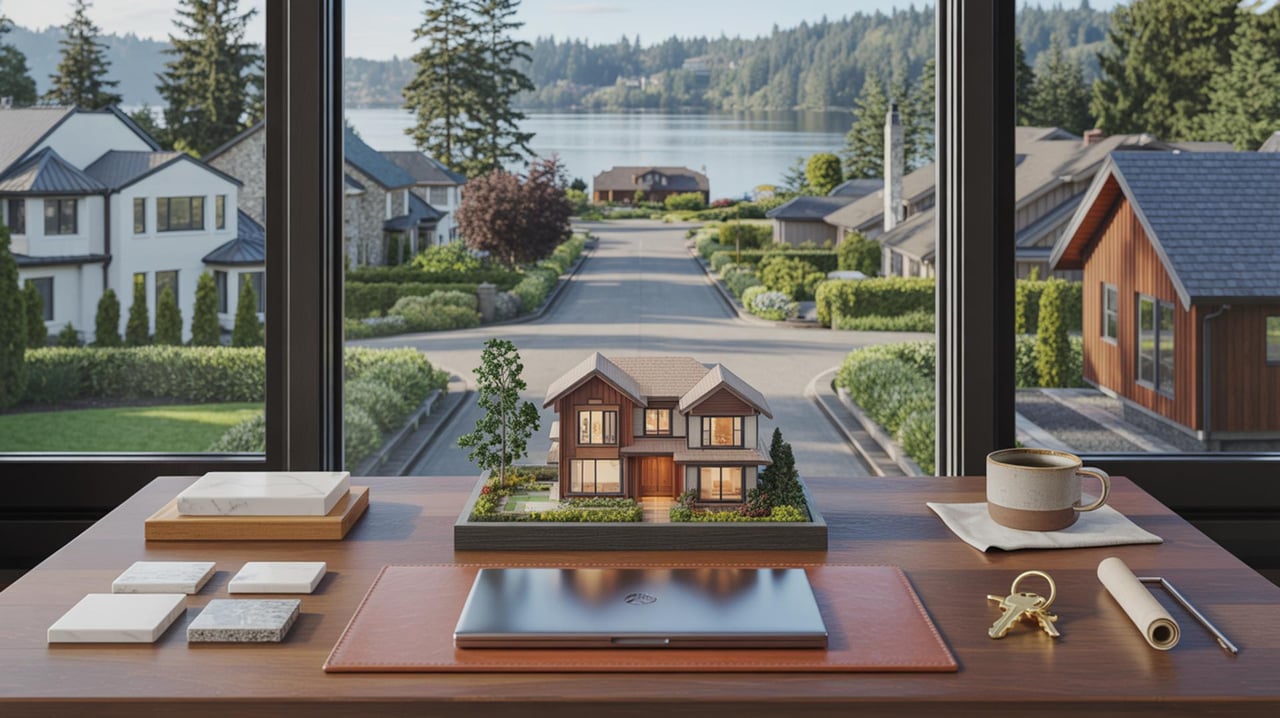
Getting your Lake Oswego home ready to sell can feel overwhelming. You want powerful photos, confident showings, and a listing that stands out without wasting time or money. A design-led staging plan gives you a clear, room-by-room blueprint tailored to your home and the buyers who are most likely to love it.
This guide walks you through what a tailored staging blueprint includes, how the process works in Lake Oswego, and how to measure results. You’ll see how a design-first approach uses scale, color, light, and flow to elevate your listing from day one. Let’s dive in.
Why design-led staging works
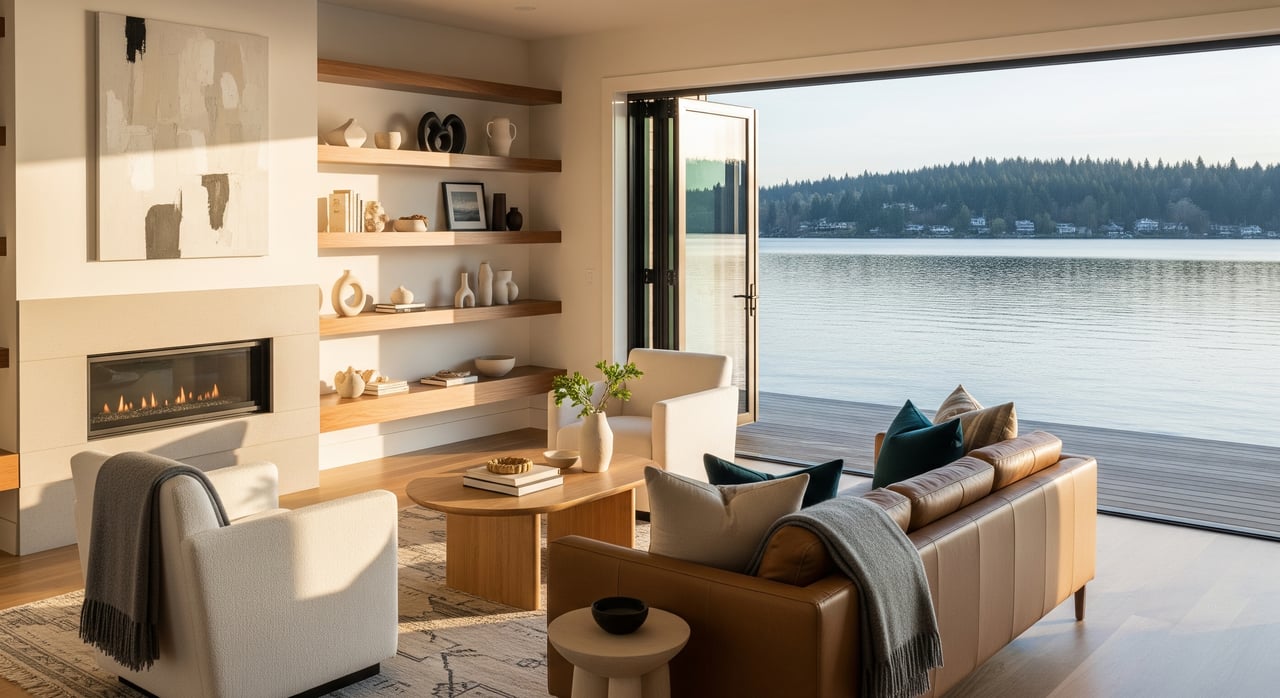
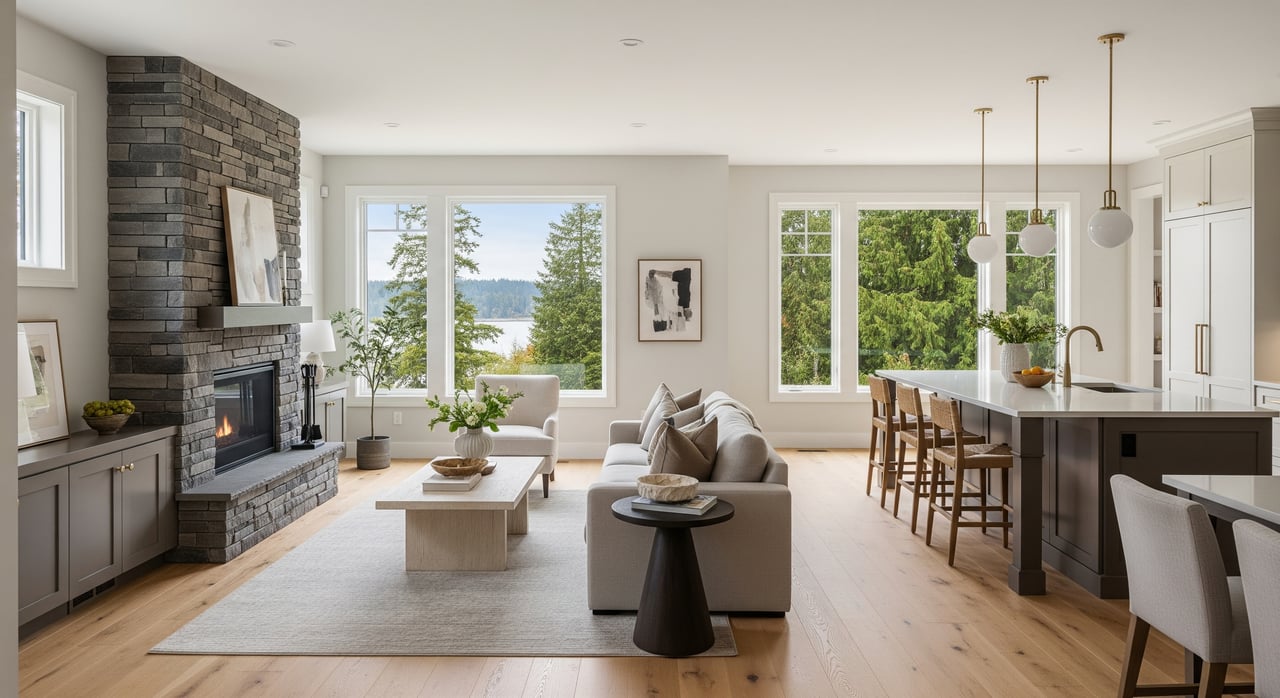
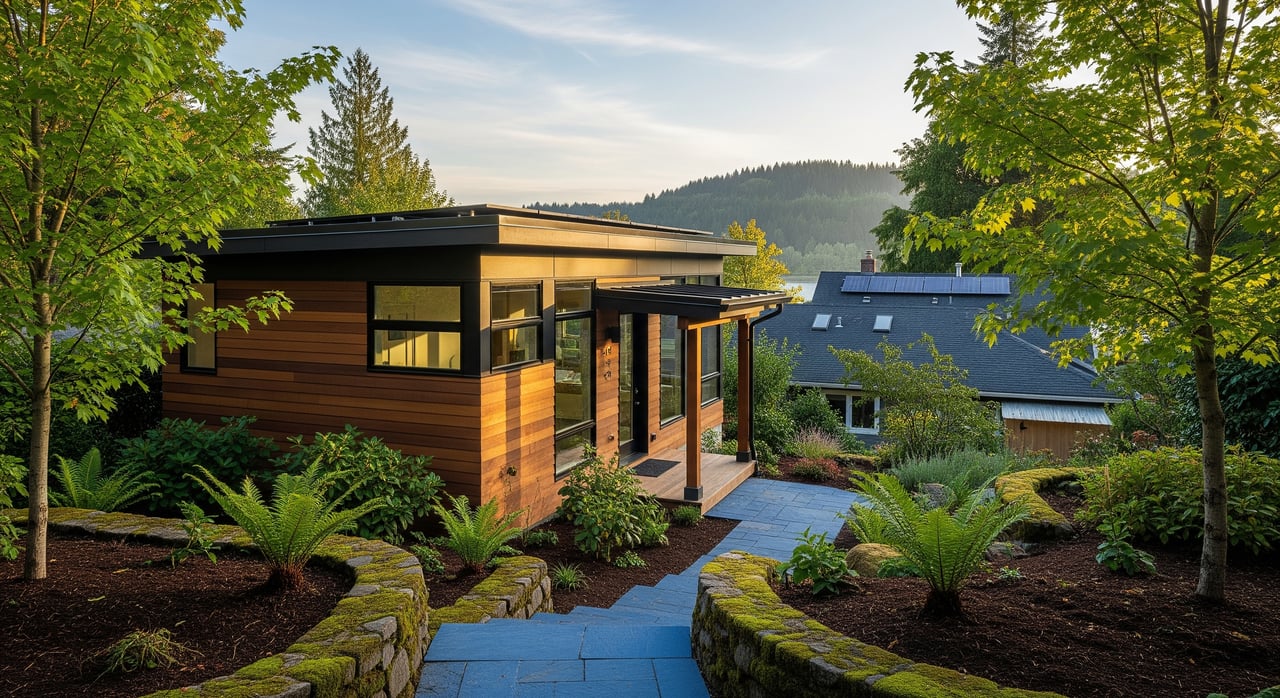
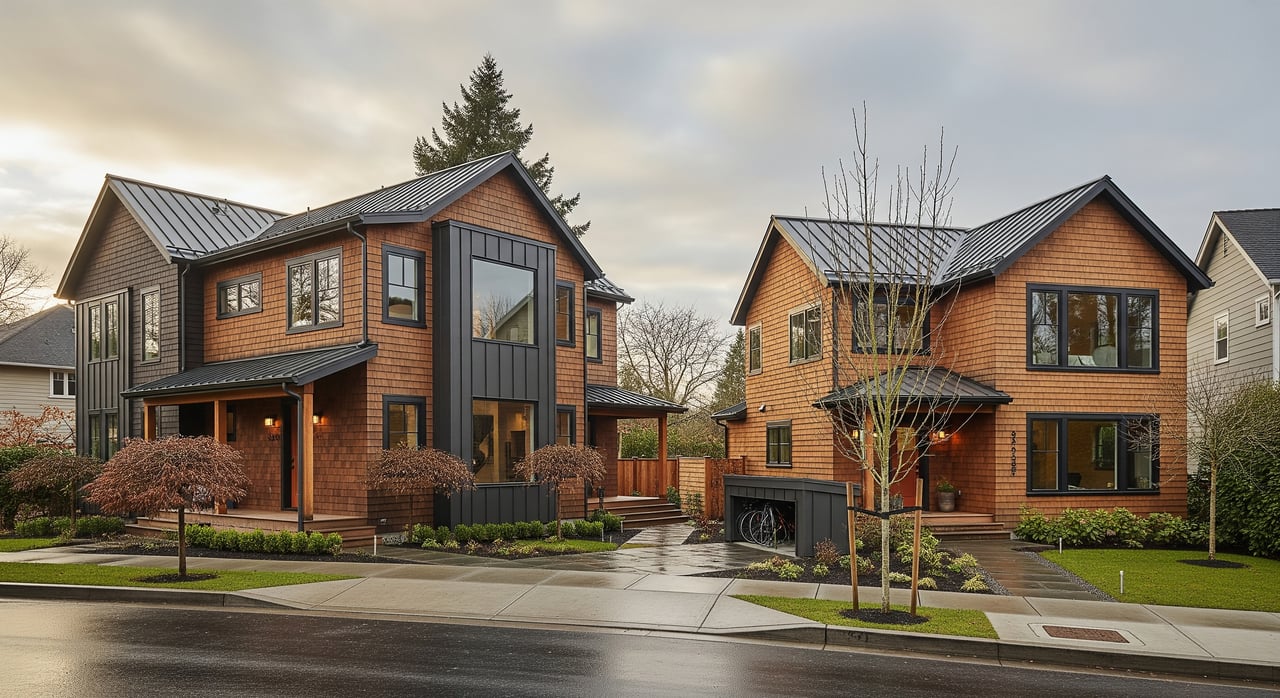
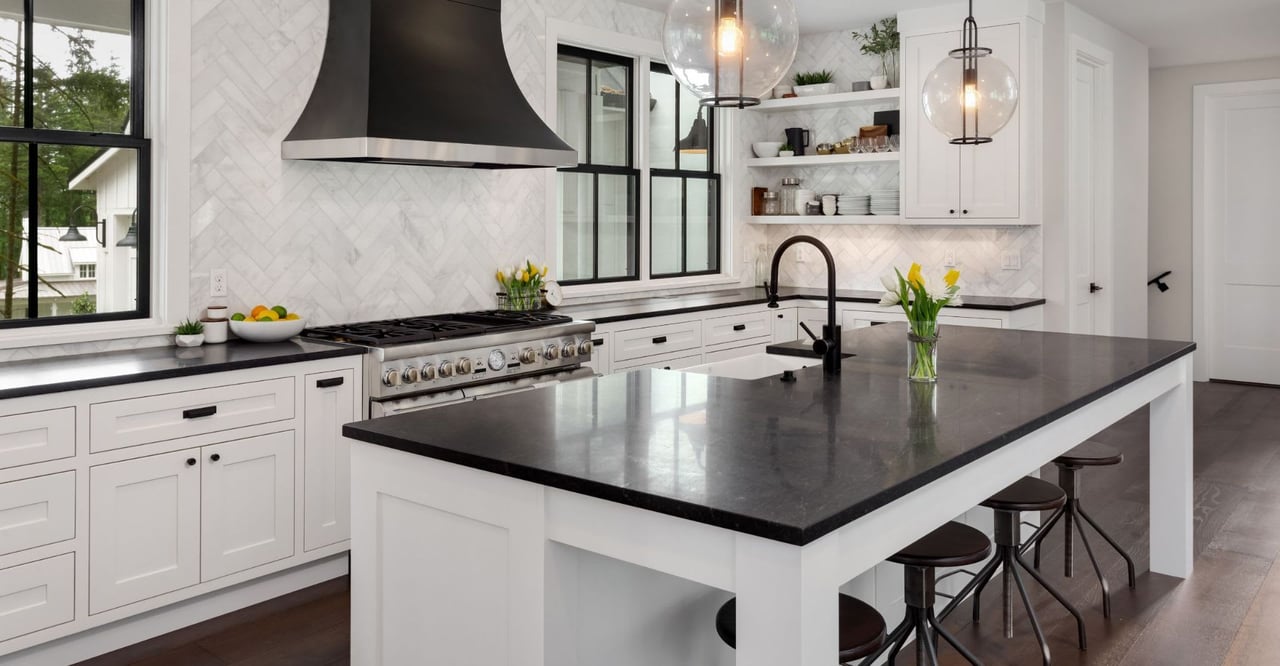
Design-led staging applies interior design principles to your sale. Instead of “box and fill,” it focuses on proportion, balance, and circulation so every room looks great in photos and feels comfortable in person. The choices are not generic. They are built around your property’s architecture and the buyers you want to reach.
In Lake Oswego, that might mean different solutions for different homes:
- Craftsman: preserve character details and define cozy conversation zones.
- Mid-century: keep cleaner lines, right-size furniture, and emphasize indoor-outdoor flow.
- Contemporary custom: simplify palettes and showcase volume, light, and views.
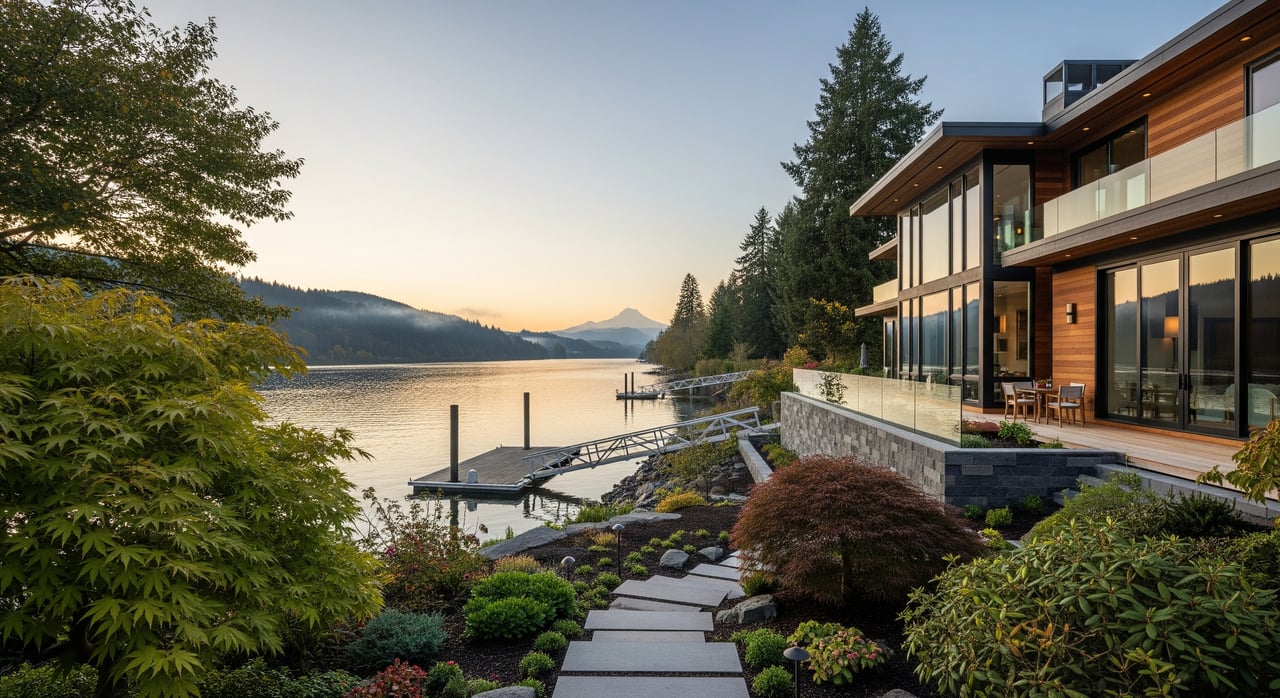
- Waterfront or hillside: frame sightlines to the lake, terraces, and docks while keeping pathways clear.
The goal is simple. Improve first impressions, reduce buyer friction points, and support pricing and negotiation with stronger market presentation.
What you get: tailored staging blueprint
Your staging blueprint is a practical, step-by-step plan you can follow. It’s built after a quick assessment of curb appeal, entry, living areas, kitchen, primary suite, baths, and outdoor spaces. Here is what it includes.
Target buyer and highlights
- A short profile of likely buyers for your home and which features to emphasize, such as proximity to parks, water views, or flexible work spaces.
Design concept
- A clear visual theme that guides choices. Examples: modern lakeside retreat, updated Craftsman, or serene downsizer haven.
Room-by-room plan
- Declutter and pack list.
- Furniture placement diagrams or annotated photos.
- Color accents for pillows, throws, and art.
- Lighting upgrades, mirror placement, and rug sizing.
- Accessory styling to support photography and showings.
Photo styling directions
- Shot list by space, with the best time of day for each.
- Minimal florals and greenery suggestions.
- Recommended rental pieces or pulls for hero rooms when needed.
Vendor coordination and timeline
- Who does what and when: cleaning, repairs, paint, deliveries, photographer, and pick-ups.
Budget and priorities
- High-impact, medium, and higher-cost options so you can invest where it matters most.
Before/after documentation
- A plan to capture photos and key metrics like days on market, offer activity, and showing feedback.
Maintenance and showing instructions
- Daily prep checklist and care tips while your home is on the market.
Deliverables are easy to use and share with your household and vendors:
- One-page executive summary of actions, estimated cost ranges, and timeline.
- Room-by-room annotated photo plan or simple floor overlays.
- Vendor checklist with contact slots and scheduled dates.
- Photo shot list and styling notes for you and the photographer.
How the process works
A typical staging timeline for a standard single-family home follows a clear path. Duration depends on scope and vendor availability.
- Initial consult and assessment
- Timeframe: about 1 to 3 days.
- What happens: walk-through, quick measurements, notes on target buyer, and concept direction.
- Declutter and minor repairs
- Timeframe: about 3 to 10 days.
- What happens: edit and pack, touch-up paint, fix small items, neutralize bold colors if needed, schedule cleaners.
- Staging setup
- Timeframe: about 1 to 3 days.
- What happens: rental deliveries if used, furniture placement, lighting and accessory styling, outdoor refresh.
- Photography
- Timeframe: within 1 to 2 days of staging completion.
- What happens: pro photos, lifestyle detail shots, and drone if appropriate and permitted.
- Go live
- Timeframe: usually 1 to 3 days after photography.
- What happens: listing launches with fresh images and a showing plan.
From first consult to listing-ready, most projects take about 7 to 21 days.
Lake Oswego logistics to plan for
Local details can impact your schedule and execution. A well-structured blueprint makes these simple.
- HOA and neighborhood rules: Confirm any limits on signage, parking of trucks during deliveries, use of docks or shoreline features for photos, and common-area staging.
- City guidelines: Staging itself does not typically require permits. If you plan special exterior work or signage, check City of Lake Oswego rules and local parking regulations.
- Seasonal weather: Rain affects curb appeal and exterior photography. Book exterior photos for dry windows and set quick-clean routines to manage footprints and entry mats.
- Waterfront considerations: Keep pathways to docks and terraces clear. For drone images, verify local rules and your photographer’s licensing.
- Storage and access: If you’re living in the home while selling, consider short-term storage to streamline rooms. Confirm delivery windows so staging and showings do not conflict.
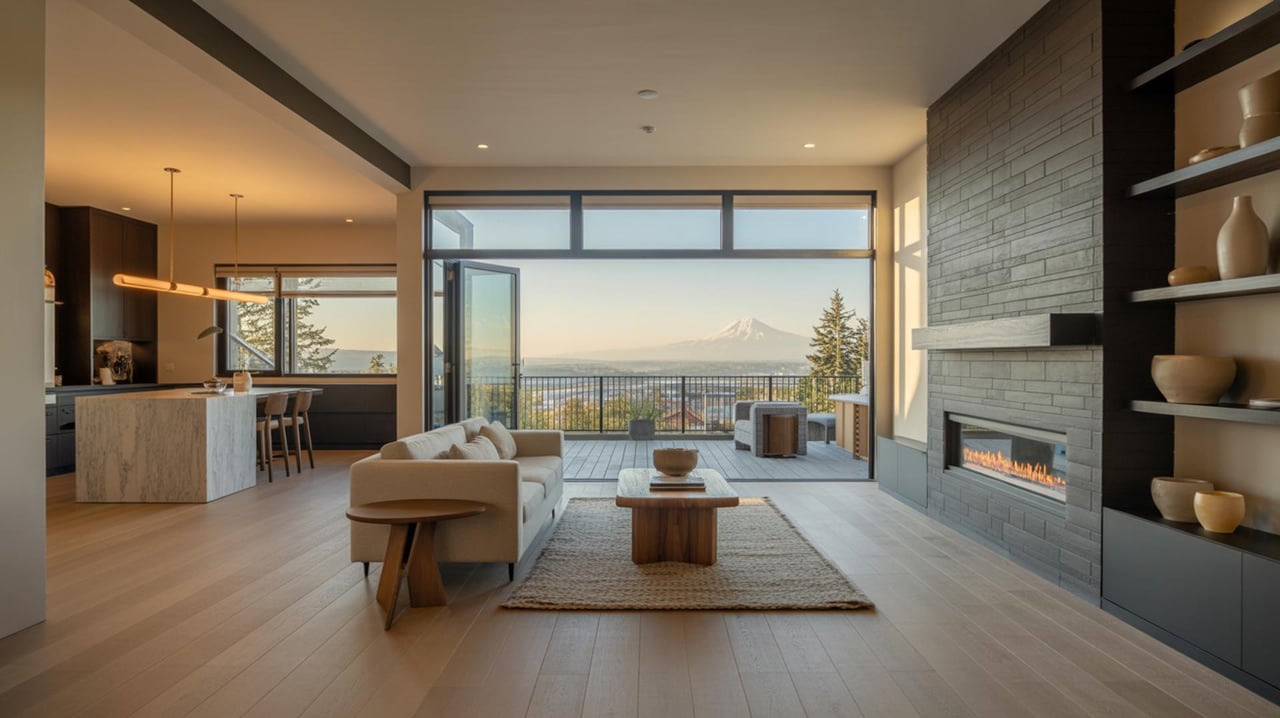
Photo styling that sells
Your photos are your listing’s first showing. Design-led staging supports both the camera and the in-person experience.
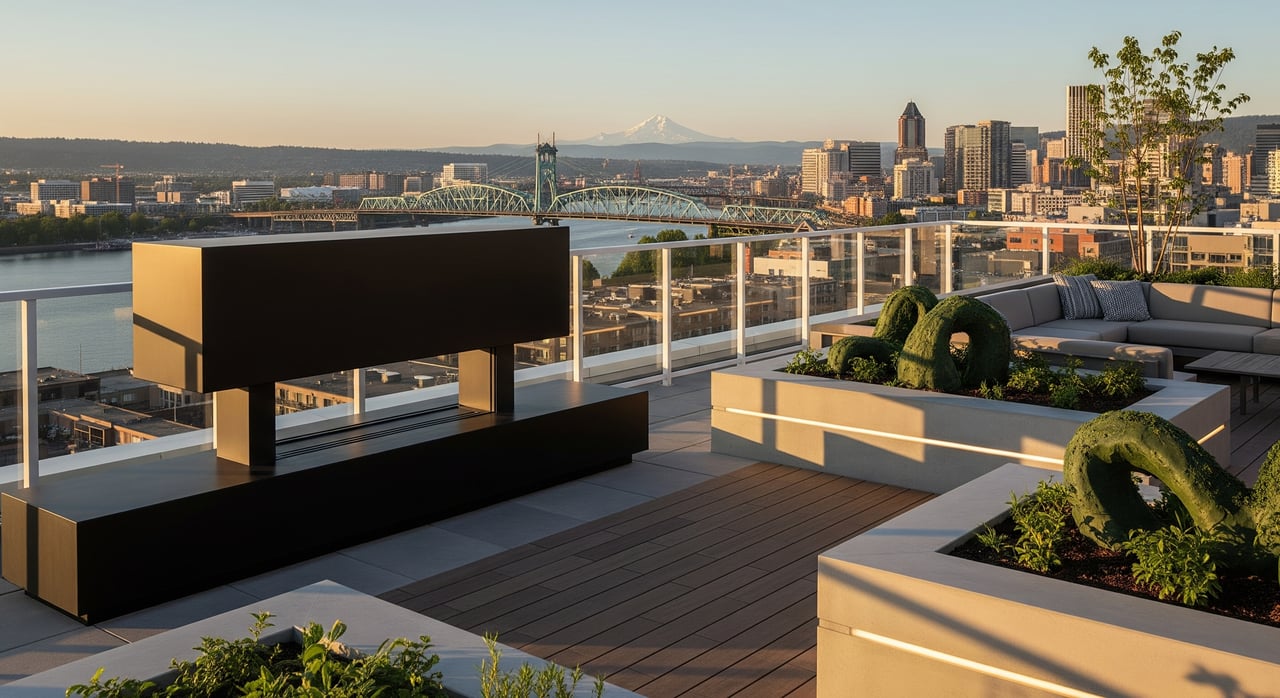
- Hero rooms to prioritize: entry, living room, kitchen, primary suite, and outdoor entertaining, especially lake-facing patios or decks.
- Shot list essentials: front exterior, back exterior or shoreline, entry, living room wide, kitchen wide and one detail, dining, primary suite, key baths, secondary rooms, and lifestyle detail shots. Waterfront homes benefit from view-through-window images and a permitted drone shot when appropriate.
- Styling details that matter: a neutral base palette with one or two accent colors, layered lighting, scaled art, and rugs that define seating groups. Add greenery for freshness and tactile warmth.
- Virtual staging: If you use it for empty rooms, disclose it clearly and follow MLS and local rules. Use it sparingly alongside accurate property photos.
How we measure success
Your blueprint includes a simple framework to track results. That way you can see what worked and refine as needed.
Objective metrics:
- Days on market compared to local norms.
- Showings per week and the timing of offers.
- Offer count and sale price compared to list and relevant comps.
- Listing page views and photo engagement when available.
Qualitative feedback:
- Buyer agent comments and open house notes.
- Mentions of specific staged features that helped buyers visualize living in the home.
Sample budget approach
Every property is different, so it helps to sort decisions by impact and cost. Your plan will map these to your goals and timeline.
- High-impact, lower cost: editing and packing, paint touch-ups, updated bulbs and lamps, entry mats, fresh towels and linens, surface styling.
- Medium: partial furniture rentals for key rooms, area rugs, curated art and mirrors, minor interior painting.
- Higher cost: broader painting, larger-scale rentals, exterior power-wash and landscaping refresh, specialized photography like drone or twilight.
Your blueprint includes example line items to request from vendors, such as per-room staging fees, delivery and pickup charges, storage costs, and hourly design time.
Quick checklist
- Define target buyer and design concept in two sentences.
- Do the five highest-impact moves: neutralize bold walls, define a living room conversation area, clear kitchen and bath surfaces, refresh linens, and power-wash entries and paths.
- Follow the timeline: assessment, declutter and repairs, staging, photo shoot, listing live.
- Prep for showings: daily 10-minute reset list and pet plan.
- Track results: days on market, showings per week, offers, and comments.
Case study documentation plan
If you want to document your sale for personal records or future marketing permissions, your blueprint outlines what to gather. Take consistent before and after photos from the same angles, note staging scope and timing, and track days on market and offer activity. With written permission, you can share anonymized results later if helpful.
Safety and disclosure notes
The plan also covers safety and compliance basics. Secure heavy decor and tall pieces, especially on stairs or near children’s areas. If any photos are virtually staged or digitally altered, disclose that clearly in your listing materials per MLS and local guidelines. Always verify HOA rules for common areas, docks, or signage.
Ready to get started?
A tailored staging blueprint brings clarity, speed, and confidence to your Lake Oswego sale. You get a design-first plan that respects your home’s architecture, uses vendors wisely, and makes each photo count. If you want a practical, concierge-level approach from consult to launch, reach out to Laurie Bornstein to request your personalized staging plan.
FAQs
How much does Lake Oswego home staging cost?
- Costs vary by square footage, rooms staged, rental duration, repairs or painting, and photography extras; your blueprint includes budget tiers and local vendor quotes so you can choose what fits your goals.
Will staging raise my sale price in Lake Oswego?
- Staging is designed to improve marketability, strengthen first impressions, reduce time on market, and support pricing and negotiation, with outcomes depending on local comps and execution.
Do I need to stage the whole house?
- Not always; many sellers stage hero rooms first such as the living room, kitchen, primary suite, entry, and key outdoor spaces, then add rooms based on budget and impact.
How long will staging take before listing?
- A typical timeline runs about 7 to 21 days from consult to listing-ready, including assessment, declutter and repairs, staging, photography, and launch.
Can you stage if I’m living in the home?
- Yes; the plan emphasizes decluttering, short-term storage, a few strategic rentals, and a daily reset routine to keep your home show-ready without disrupting your life.
What about lakefront features and outdoor areas?
- The blueprint prioritizes clear sightlines to the water, safe and tidy dock access, scaled outdoor seating, and dry-day scheduling for exterior photos to capture the best light.